HTML – Attributes
HTML attributes are additional pieces of information that can be added to HTML elements to define their characteristics, behavior, or appearance. These attributes provide extra details about the elements and help control how they function within a web page. HTML attributes are specified within the opening tag of an element and are usually written as name-value pairs, separated by an equal sign (=).
For example, the “src” attribute in an tag specifies the source URL of an image, and the “href” attribute in an tag defines the hyperlink destination. Attributes are crucial for customizing elements, making web pages interactive, and ensuring proper accessibility. They play a significant role in web development by allowing developers to tailor the behavior and appearance of web content to meet specific requirements and user expectations.
Here are some common HTML attributes along with examples in HTML:
1. id Attribute: In HTML, the id attribute is used to uniquely identify an element on a web page. Here’s an example of how to use the id attribute:
<!DOCTYPE html>
<html>
<head>
<title>Example Page</title>
</head>
<body>
<h1 id="main-heading">Welcome to My Website</h1>
<p>This is a paragraph of text.</p>
<ul>
<li id="list-item-1">Item 1</li>
<li id="list-item-2">Item 2</li>
<li id="list-item-3">Item 3</li>
</ul>
<div id="my-div">
<p>This is a div with an ID.</p>
</div>
</body>
</html>Code language: HTML, XML (xml)Output :
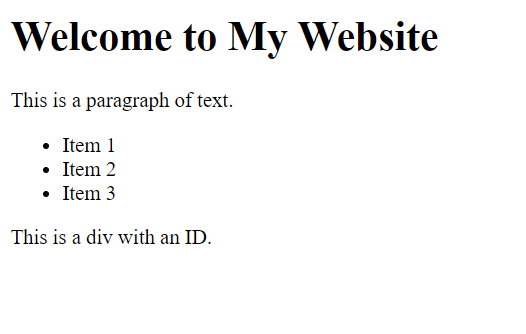
In this example, we have several HTML elements with id attributes:
<h1 id="main-heading">: The main heading of the page is given the ID “main-heading.” This ID can be used to uniquely target this element using JavaScript or CSS.<li>elements within an<ul>: Each list item has a unique ID such as “list-item-1,” “list-item-2,” and “list-item-3.” These IDs can be used to target specific list items if needed.<div id="my-div">: A<div>element with the ID “my-div” is used to group content. This ID can be used to target this specific<div>element.
You can access elements with these IDs in JavaScript using methods like document.getElementById("main-heading"), document.getElementById("list-item-1"), or document.getElementById("my-div"), and you can apply CSS styles to them using the # selector, e.g., #main-heading in your CSS file.
2. class Attribute: In HTML, the class attribute is used to assign one or more class names to an element. Class names are typically used to group and style elements using CSS, or to select elements using JavaScript. Here’s an example of how to use the class attribute:
<!DOCTYPE html>
<html>
<head>
    <title>Class Attribute Example</title>
    <style>
        /* Define CSS styles for the classes */
        .highlighted {
            background-color: yellow;
        }

        .important {
            font-weight: bold;
            color: red;
        }
    </style>
</head>
<body>
    <h1 class="highlighted">Welcome to My Website</h1>
    <p>This is a paragraph of text.</p>
    <ul>
        <li class="important">Item 1</li>
        <li>Item 2</li>
        <li class="important">Item 3</li>
    </ul>
    <div class="highlighted important">
        <p>This is a div with multiple classes.</p>
    </div>
</body>
</html>Code language: HTML, XML (xml)
Output :
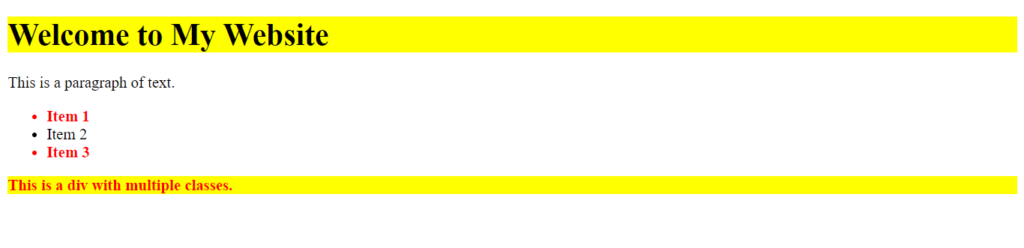
In this example, we have several HTML elements with class attributes:
<h1 class="highlighted">: The main heading of the page is given the class “highlighted.” This class is defined in the embedded CSS, which sets the background color to yellow for elements with this class.<li>elements within an<ul>: Some list items are assigned the class “important.” This class is also defined in the embedded CSS, which makes text bold and red for elements with this class.<div class="highlighted important">: A<div>element is assigned multiple classes, “highlighted” and “important.” This demonstrates that an element can have multiple classes separated by spaces.
By using classes, you can easily style and manipulate groups of elements in a consistent manner using CSS, and you can select and manipulate these elements using JavaScript.
3. src Attribute: In HTML, the src attribute is commonly used to specify the source (URL or file path) of external resources, such as images, audio, video, iframes, and scripts. Here are some examples of how the src attribute can be used with different HTML elements:
- Image (img):
<!DOCTYPE html>
<html>
<head>
    <title>Image Example</title>
</head>
<body>
    <h1>Image Example</h1>
    <img src="background.jpg" alt="An example image" width="400">
</body>
</html>
Code language: HTML, XML (xml)
Output :
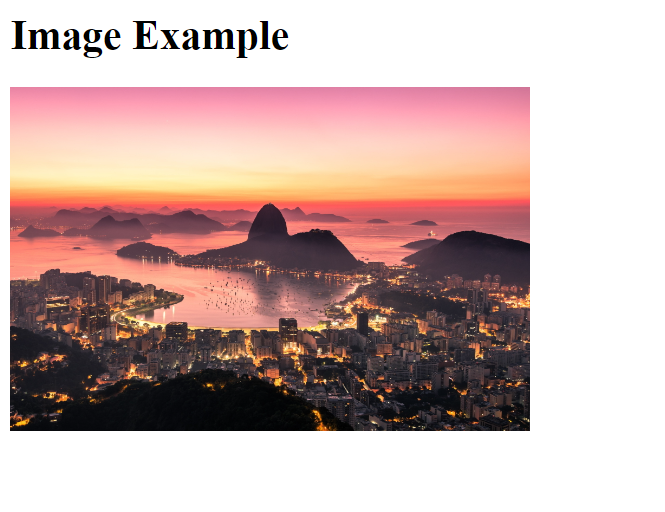
In this example, the src attribute specifies the source file “background.jpg” for an <img> element, which displays an image on the web page.
- Audio (audio):
<!DOCTYPE html>
<html>
<head>
    <title>Audio Example</title>
</head>
<body>
    <h1>Audio Example</h1>
    <p>Listen to this sample audio:</p>

    <audio controls>
        <source src="sample.mp3" type="audio/mpeg">
        Your browser does not support the audio element.
    </audio>
</body>
</html>Code language: HTML, XML (xml)
Output :
The <audio> element is used to embed an audio player. It includes the controls attribute, which adds playback controls (play, pause, volume, etc.) to the audio player.
Inside the <audio> element, there is a <source> element that specifies the audio source file using the src attribute. In this example, it’s set to “sample.mp3,” and the type attribute specifies the MIME type of the audio file (audio/mpeg for MP3).
- Video (video):
<!DOCTYPE html>
<html>
<head>
    <title>Video Example</title>
</head>
<body>
    <h1>Video Example</h1>
    <p>Watch this sample video:</p>

    <video controls width="640" height="360">
        <source src="sample.mp4" type="video/mp4">
        Your browser does not support the video element.
    </video>
</body>
</html>
Code language: HTML, XML (xml)
Output :
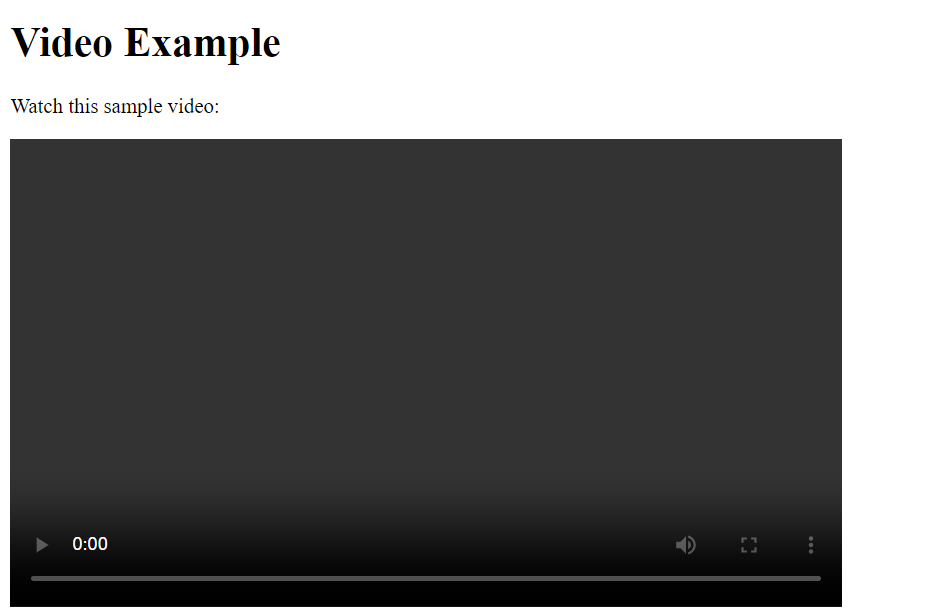
The <video> element is used to embed a video player. It includes the controls attribute, which adds playback controls (play, pause, volume, etc.) to the video player.
You can specify the width and height of the video player using the width and height attributes.
Inside the <video> element, there is a <source> element that specifies the video source file using the src attribute. In this example, it’s set to “sample.mp4,” and the type attribute specifies the MIME type of the video file (video/mp4 for MP4).
- Iframe (iframe):
<!DOCTYPE html>
<html>
<head>
    <title>IFrame Example</title>
</head>
<body>
    <h1>IFrame Example</h1>
    <p>Here's an example of an iframe:</p>
    <iframe src="https://www.example.com" width="400" height="300"></iframe>
</body>
</html>
Code language: HTML, XML (xml)
Output :
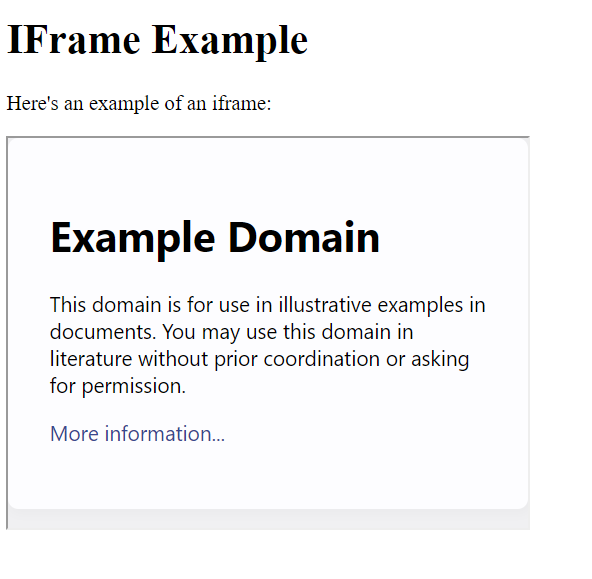
The <iframe> element is used to embed external content, such as webpages from other websites. The src attribute specifies the source URL of the content to be displayed within the iframe. In this example, it’s set to “https://www.example.com.”
You can also specify the width and height attributes to control the dimensions of the iframe on your page.
The content of the iframe will be displayed within the boundaries defined by the width and height attributes. Users can interact with and scroll through the embedded content if it’s larger than the specified dimensions.
Replace “https://www.example.com” with the actual URL of the webpage or content you want to embed within the iframe.
- Script (script):
<!DOCTYPE html>
<html>
<head>
    <title>Script Example</title>
</head>
<body>
    <h1>Script Example</h1>
    <p>This is a simple example of JavaScript embedded in HTML:</p>

    <script>
        // JavaScript code goes here
        alert("Hello, World!");
    </script>
</body>
</html>
Code language: HTML, XML (xml)
Inside the <script> element, you can write JavaScript code. In this case, we have a simple JavaScript alert() function that displays a popup alert with the message “Hello, World!” when the page is loaded.
You can also include external JavaScript files using the src attribute of the <script> element. For example:
<script src="script.js"></script>
Code language: HTML, XML (xml)
In this case, “script.js” should be a separate JavaScript file containing your code.
Remember to place your <script> elements either in the <head> section or at the end of the <body> section for best practices. Placing scripts at the end of the <body> section is common to ensure that the HTML content is parsed and loaded before the JavaScript code is executed.
4. href Attribute: In HTML, the href attribute is commonly used to specify the hypertext reference or URL that a hyperlink points to. Here are some examples of how the href attribute can be used with different HTML elements to create links:
- Anchor (a) Element:
<a href="https://www.example.com">Visit Example.com</a>Code language: HTML, XML (xml)In this example, the href attribute specifies the URL “https://www.example.com” to create a hyperlink that directs users to the Example.com website.
- Linking to Internal Page:
<a href="about.html">About Us</a>Code language: HTML, XML (xml)Here, the href attribute points to an internal page “about.html” within the same website, creating a link to the “About Us” page.
- Email Links:
<a href="mailto:contact@example.com">Contact Us</a>Code language: HTML, XML (xml)The href attribute can also be used to create email links. In this case, it specifies the email address “contact@example.com,” allowing users to click the link to open their default email client with a new message to that address.
- File Downloads:
<a href="document.pdf" download>Download PDF</a>Code language: HTML, XML (xml)When the download attribute is used with the href attribute, it indicates that the linked resource should be downloaded rather than navigated to. In this example, clicking “Download PDF” would trigger the download of the “document.pdf” file.
- Linking to Other Sections on the Same Page:
<a href="#section2">Jump to Section 2</a>Code language: HTML, XML (xml)The href attribute can also be used to create links that navigate to specific sections within the same page by using the corresponding anchor id. In this case, clicking the link would scroll the page to the element with id="section2".
- Linking to Phone Numbers (Mobile):
<a href="tel:+1234567890">Call Us</a>Code language: HTML, XML (xml)On mobile devices, the href attribute can be used to create phone number links. In this example, clicking “Call Us” would initiate a phone call to the number “+1234567890.”
The href attribute is a fundamental attribute for creating links in HTML, allowing you to connect web pages, external resources, email addresses, and more, enhancing the interactivity and navigation of your website or web application.
Example :
<!DOCTYPE html>
<html>
<head>
    <title>Href Attribute Example</title>
</head>
<body>
    <h1>Hyperlinks Example</h1>
    <p>Click the links below to navigate:</p>

    <ul>
        <li><a href="https://www.example.com">Visit Example.com</a></li>
        <li><a href="page2.html">Go to Page 2</a></li>
        <li><a href="documents/sample.pdf" download>Download Sample PDF</a></li>
        <li><a href="mailto:contact@example.com">Contact Us</a></li>
    </ul>
</body>
</html>
Code language: HTML, XML (xml)
Output :
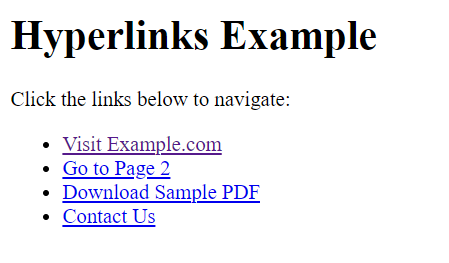
Inside the <body>, we have an unordered list <ul> containing list items <li>. Each list item contains an anchor <a> element with an href attribute.
<a href="https://www.example.com">Visit Example.com</a>creates a hyperlink that navigates to the “https://www.example.com” website when clicked.<a href="page2.html">Go to Page 2</a>creates a link to another HTML page within the same website. Thehrefattribute specifies “page2.html.”<a href="documents/sample.pdf" download>Download Sample PDF</a>creates a link to download a PDF file. Thedownloadattribute indicates that the link should trigger a file download when clicked.<a href="mailto:contact@example.com">Contact Us</a>creates a “mailto” link, allowing users to open their default email client with a new message addressed to “contact@example.com” when clicked.
The href attribute is essential for creating hyperlinks in HTML, enabling navigation between different web pages and resources on the internet.
5. alt Attribute: In HTML, the alt attribute is used to provide alternative text for elements like images and is particularly important for accessibility. Here’s an example of how the alt attribute can be used with an <img> element:
<!DOCTYPE html>
<html>
<head>
    <title>Alt Attribute Example</title>
</head>
<body>
    <h1>Alt Attribute Example</h1>
    <p>Here's an example of an image with alternative text:</p>

    <img src="example.jpg" alt="A beautiful sunset over the mountains">
</body>
</html>
Code language: HTML, XML (xml)
In this example:
- The
<img>element is used to display an image. Thesrcattribute specifies the source (URL or file path) of the image file, and thealtattribute provides alternative text for the image. In this case, the alternative text is “A beautiful sunset over the mountains.” - The
altattribute serves several important purposes: - Accessibility: Screen readers for visually impaired users can read the alternative text, providing a description of the image’s content.
- SEO: Search engines use the alternative text to understand the content of images, which can help with search engine optimization.
- Fallback: If the image cannot be loaded for any reason (e.g., broken link or slow network), the alternative text is displayed to provide context to users.
- It’s considered good practice to include meaningful and descriptive alternative text for all images on your website to ensure a better user experience and improved accessibility.
Including appropriate alt text is essential for web accessibility as it ensures that the content remains understandable and informative even when images cannot be displayed or are not visible to all users. It also helps with search engine optimization (SEO) by providing textual descriptions of images.
6. width and height Attributes: In HTML, you can use the width and height attributes to specify the dimensions (width and height) of certain elements like images and iframes. Here are examples of how to use these attributes:
1. Image (img) with Width and Height:
<img src="example.jpg" alt="An example image" width="300" height="200">Code language: HTML, XML (xml)In this example, we have an <img> element displaying an image. The width attribute sets the width of the image to 300 pixels, and the height attribute sets the height to 200 pixels.
2. Iframe with Width and Height:
<iframe src="https://www.example.com" width="800" height="600"></iframe>Code language: HTML, XML (xml)Here, we have an <iframe> element that embeds an external webpage (https://www.example.com). The width attribute sets the width of the iframe to 800 pixels, and the height attribute sets the height to 600 pixels.
These attributes are particularly useful when you want to control the dimensions of elements on your webpage to achieve specific layout and design goals. Be sure to use appropriate dimensions that fit your design and make your content visually appealing.
7. placeholder Attribute: In HTML, the placeholder attribute is used with form input elements to provide a hint or example text to users about the expected format or content of the input field. Here’s an example of how to use the placeholder attribute:
<!DOCTYPE html>
<html>
<head>
    <title>Placeholder Attribute Example</title>
</head>
<body>
    <h1>Placeholder Attribute Example</h1>
    <p>Enter your name:</p>

    <input type="text" placeholder="John Doe">
</body>
</html>
Code language: HTML, XML (xml)
Output :
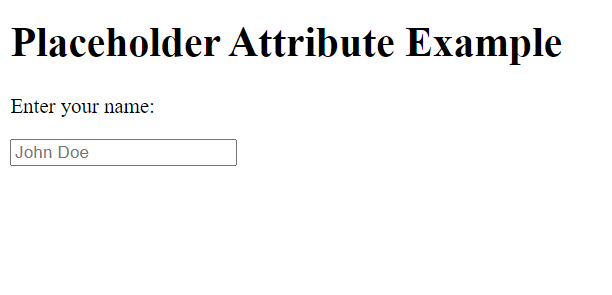
The <input> element is used to create a text input field. The type attribute is set to “text,” indicating that it’s a text input.
The placeholder attribute is set to “John Doe,” providing a hint to users about the expected input. When the user clicks inside the input field, they see the text “John Doe” as a visual cue, but the text disappears as soon as they start typing their own input.
The placeholder attribute is especially useful for improving the user experience by providing context and guidance for input fields, particularly when the expected input is not immediately obvious. It helps users understand what kind of information is expected in the field.
Here are a few more examples:
Email Input Field:
<input type="email" placeholder="Enter your email">Code language: HTML, XML (xml)Password Input Field:
<input type="password" placeholder="Enter your password">Code language: HTML, XML (xml)Search Input Field:
<input type="search" placeholder="Search for something">Code language: HTML, XML (xml)The placeholder attribute is a useful way to improve user experience by providing context and guidance for input fields, especially when the expected input is not immediately obvious. It’s commonly used in various forms and search bars on websites.
8. disabled Attribute: In HTML, the disabled attribute is used to disable form elements, such as input fields, buttons, and select elements, preventing users from interacting with them. Here are some examples of how the disabled attribute can be used:
1. Disabled Input Field:
<input type="text" value="This input is disabled" disabled>Code language: HTML, XML (xml)In this example, we have a disabled text input field. Users cannot edit or interact with it.
2. Disabled Button:
<button type="button" disabled>Click Me (Disabled)</button>Code language: HTML, XML (xml)Here, we have a disabled button. Users cannot click it to trigger any action or event.
3. Disabled Checkbox and Radio Button:
<input type="checkbox" name="check" value="check1" disabled> Check 1 (Disabled)<br>
<input type="radio" name="radio" value="radio1" disabled> Radio 1 (Disabled)<br>Code language: HTML, XML (xml)
In this example, we have disabled checkboxes and radio buttons. Users cannot check or select them.
4. Disabled Select Dropdown:
<select disabled>
  <option value="option1">Option 1</option>
  <option value="option2">Option 2</option>
  <option value="option3">Option 3</option>
</select>Code language: HTML, XML (xml)
Here, we have a disabled select element (dropdown menu). Users cannot open the dropdown or make selections.
The disabled attribute is useful when you want to display form elements that should not be interacted with, such as displaying information that cannot be edited or triggering certain conditions where user interaction should be restricted. When an element is disabled, it is typically visually grayed out to indicate its disabled state.
9. value Attribute: In HTML, the value attribute is used to set the initial or default value of form input elements, such as text inputs, radio buttons, checkboxes, and hidden inputs. Here are some examples of how the value attribute can be used:
1. Text Input:
<input type="text" value="Default Text">Code language: HTML, XML (xml)In this example, we have a text input field with the value attribute set to “Default Text.” This text will appear in the input field by default.
2. Radio Buttons:
<input type="radio" name="gender" value="male"> Male
<input type="radio" name="gender" value="female" checked> FemaleCode language: HTML, XML (xml)
In this example, we have two radio buttons representing gender. The value attribute defines the value associated with each option. The “Female” option is checked by default.
3. Checkboxes:
<input type="checkbox" name="subscribe" value="yes" checked> Subscribe to newsletterCode language: HTML, XML (xml)Here, we have a checkbox input with the value attribute set to “yes.” The checkbox is checked by default, indicating that the user is subscribed to the newsletter.
4. Hidden Input:
<input type="hidden" name="user_id" value="12345">Code language: HTML, XML (xml)In this example, we have a hidden input field with the value attribute set to “12345.” Hidden inputs are not displayed on the page but can be used to store data that is sent when a form is submitted.
The value attribute is particularly useful for pre-filling form fields with default values or for specifying the data associated with different options in radio buttons and checkboxes. It allows you to set the initial state of form elements when a user first loads the page or interacts with a form.
10. name Attribute: In HTML, the name attribute is commonly used to provide a name or identifier for form elements, allowing you to group related elements together and access their values when the form is submitted. Here are some examples of how the name attribute can be used:
1. Text Input:
<input type="text" name="username" placeholder="Enter your username">Code language: HTML, XML (xml)In this example, we have a text input field with the name attribute set to “username.” When the form is submitted, the value entered in this input field will be associated with the name “username” in the form data.
2. Radio Buttons:
<input type="radio" name="gender" value="male"> Male
<input type="radio" name="gender" value="female"> FemaleCode language: HTML, XML (xml)
Here, we have two radio buttons representing gender. They share the same name attribute (“gender”), which means that only one option can be selected at a time. When the form is submitted, the selected option’s value will be associated with the name “gender” in the form data.
3. Checkboxes:
<input type="checkbox" name="interests[]" value="sports"> Sports
<input type="checkbox" name="interests[]" value="music"> Music
<input type="checkbox" name="interests[]" value="movies"> MoviesCode language: HTML, XML (xml)
In this example, we have multiple checkboxes for selecting interests. They share the same name attribute (“interests[]”), but the square brackets [] indicate that multiple values can be selected. When the form is submitted, an array of selected values will be associated with the name “interests” in the form data.
4. Select Dropdown:
<select name="country">
  <option value="usa">United States</option>
  <option value="canada">Canada</option>
  <option value="uk">United Kingdom</option>
</select>Code language: HTML, XML (xml)
Here, we have a select dropdown menu with the name attribute set to “country.” When the user selects an option and submits the form, the selected option’s value will be associated with the name “country” in the form data.
The name attribute is crucial for identifying and grouping form elements when a form is submitted. It allows you to access the data submitted by the user on the server-side or through client-side scripting.
These attributes, when combined with HTML elements, allow web developers to create customized and interactive web pages that meet various requirements and user expectations.
Related posts:

Powered by YARPP.